Why This Method Works
Ryan Olsen from Whitebone Creations has developed a process that balances effectiveness with care for the bone: removing tissue, degreasing, whitening, while avoiding damage. The result is a crisp skull that still retains structure, detail, and durability. You can watch his video here.
Tools & Materials You’ll Need
Here are the tools, supplies, and prep you’ll want to have ready:
- A saw / knife to skin and remove flesh
- Power washer (or strong water spray)
- Large pot(s) or tub(s) for boiling/simmering
- Heat source for boiling water (e.g. large burner)
- Oxiclean (or a similar cleaner / degreaser)
- Clear hair developer (40 volume) from a beauty supply / hair salon
- Mop & Glo (a floor polish / shine product) or comparable sealing/finished look coat
- Brushes for detailed work (small brushes for nasal cavity, holes)
- Gloves, eye protection, good ventilation
- Optional: Car wash or hose with high-pressure nozzle for big rinses
Step-by-Step: Whitebone’s Process
Below is a breakdown of each step as taught by Whitebone Creations (via the Days in the Wild article summarizing the video) (John Stallone Days in The Wild)
-
Keep the skull moist
From the time you skin it and begin cleaning, try to keep the bone from completely drying out. This helps loosen tissue and prevents cracking. -
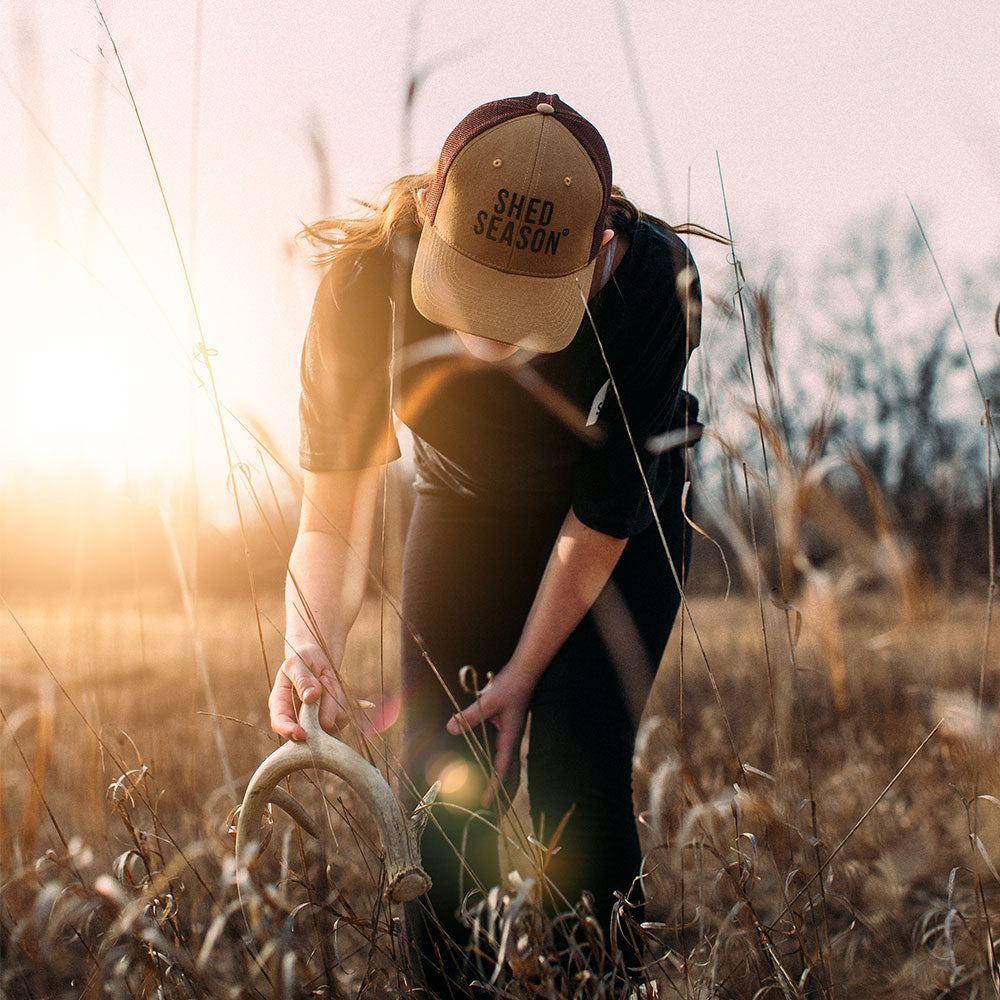
Remove as much flesh and tissue as possible while in the field / early stage
Use a knife / saw to strip off meat, skin, eyes, tongue, and tissue. The more you remove early, the less you’ll have to work with later. -
Power spray out the brains and skull cavity
Use a strong water stream to rinse out the brain matter and inside of the skull while it still has soft tissue. Get into all holes (foramina etc.). -
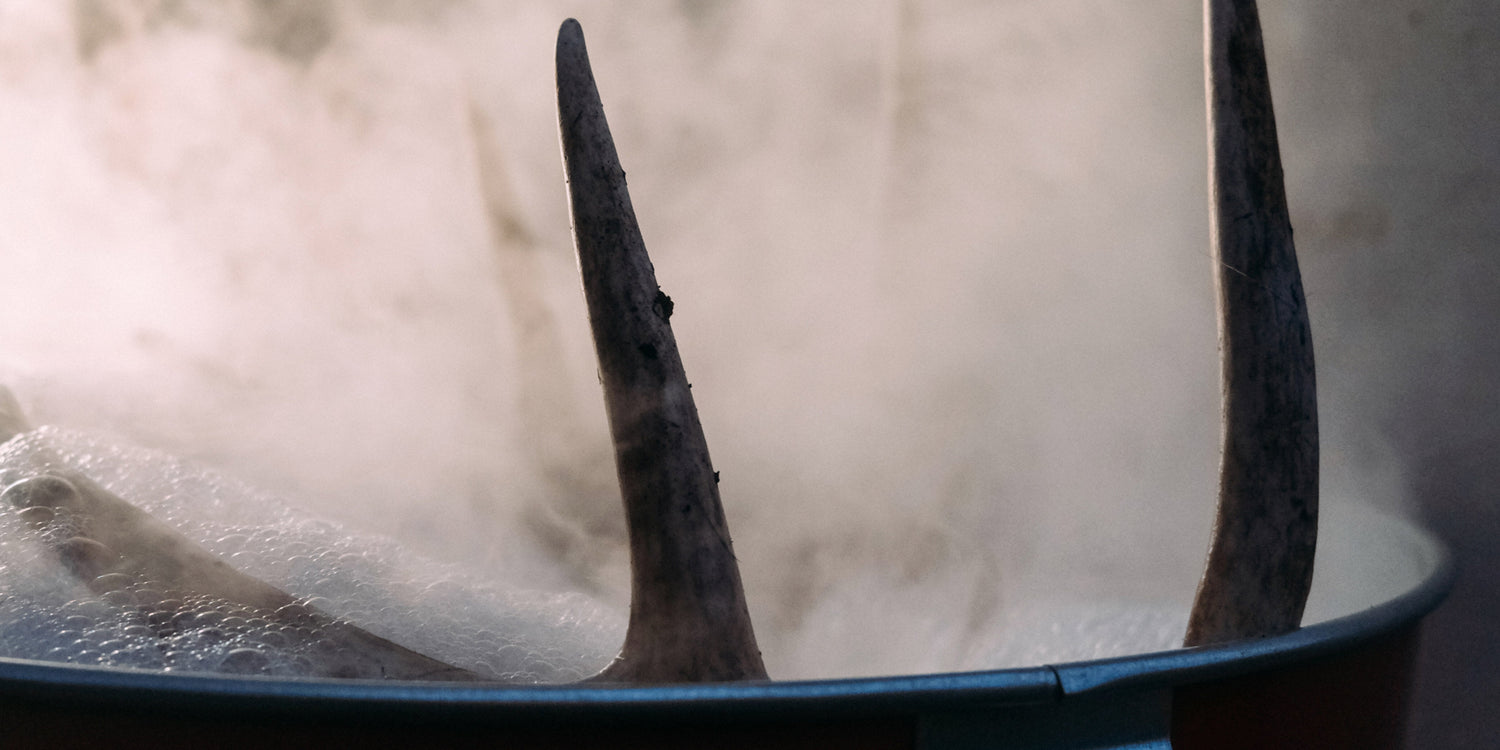
Boil (simmer) until the meat/flesh turns gray and begins splitting
In the boiling pot (with water), simmer until the remaining flesh is gray and pulling away / splitting. At this point some people add Oxiclean in with the boil to help degrease and loosen up stubborn tissue. -
Power wash off all remaining tissue
After the boil, spray the skull under pressure, paying attention to sinuses, holes, and nasal cavity. If tissue remains, you may need to take it back to the boil again. -
Whiten with a developer chemical bath
Once the skull is clean of flesh/tissue, boil again (or simmer) in a mixture of about 50/50 water and 40% clear hair developer. This helps whiten and sterilize the bone without the harshness of bleach. -
Final rinse / power wash
After the developer bath, power wash again to remove any residue. Make sure you flush all cavities and small holes. -
Apply finishing touch with Mop & Glo
Once dry (completely dry!), apply a coat of Mop & Glo (or similar floor polish) to give the skull a finished sheen and to seal it to some degree. This helps protect it and gives a clean display look.
Tips & Warnings
- Don’t boil too hard or too long. Vigorous boiling can “cook” grease into the bone and make degreasing much harder later. Also, over-boiling can weaken or warp bone. Use simmer or gentle boil.
- Degreasing is key. Grease left in the bone causes yellowing and brown stains over time. The developer bath helps, but removing grease earlier (with the boil + Oxiclean etc.) will improve results.
- Avoid bleach when possible. Bleach can degrade bone and make it brittle. The developer method Whitebone shows is gentler while still achieving whiteness.
- Dry thoroughly. If bone stays damp, it may yellow or even develop mildew or odor. Let it dry out fully between steps (especially before finishing).
- Protect antlers. If your mount includes antlers, be careful not to subject them to harsh chemicals that might lighten or damage them more than you want. Some folks use stain pens or touch-up color on the antler bases if bleaching is too aggressive.
- Safety first. Boiling liquids, chemical developers, hot surfaces: gloves, eye protection, ventilation are essential.
Time & Patience
This isn’t a one-hour job. Expect several hours over a couple sessions, especially if the skull is large, fleshy, or hasn’t been cleaned right away. But doing it yourself with care yields results comparable to what a taxidermist might do, at far lower cost.
Final Thoughts
If I were summarizing Whitebone Creations’ creed: respect the harvest, preserve the detail, and don’t rush the process. The method leans toward preserving fine structural features (nasal cavity, foramina, thin bones) by using simmering, developer instead of harsh bleach, and plenty of rinsing.
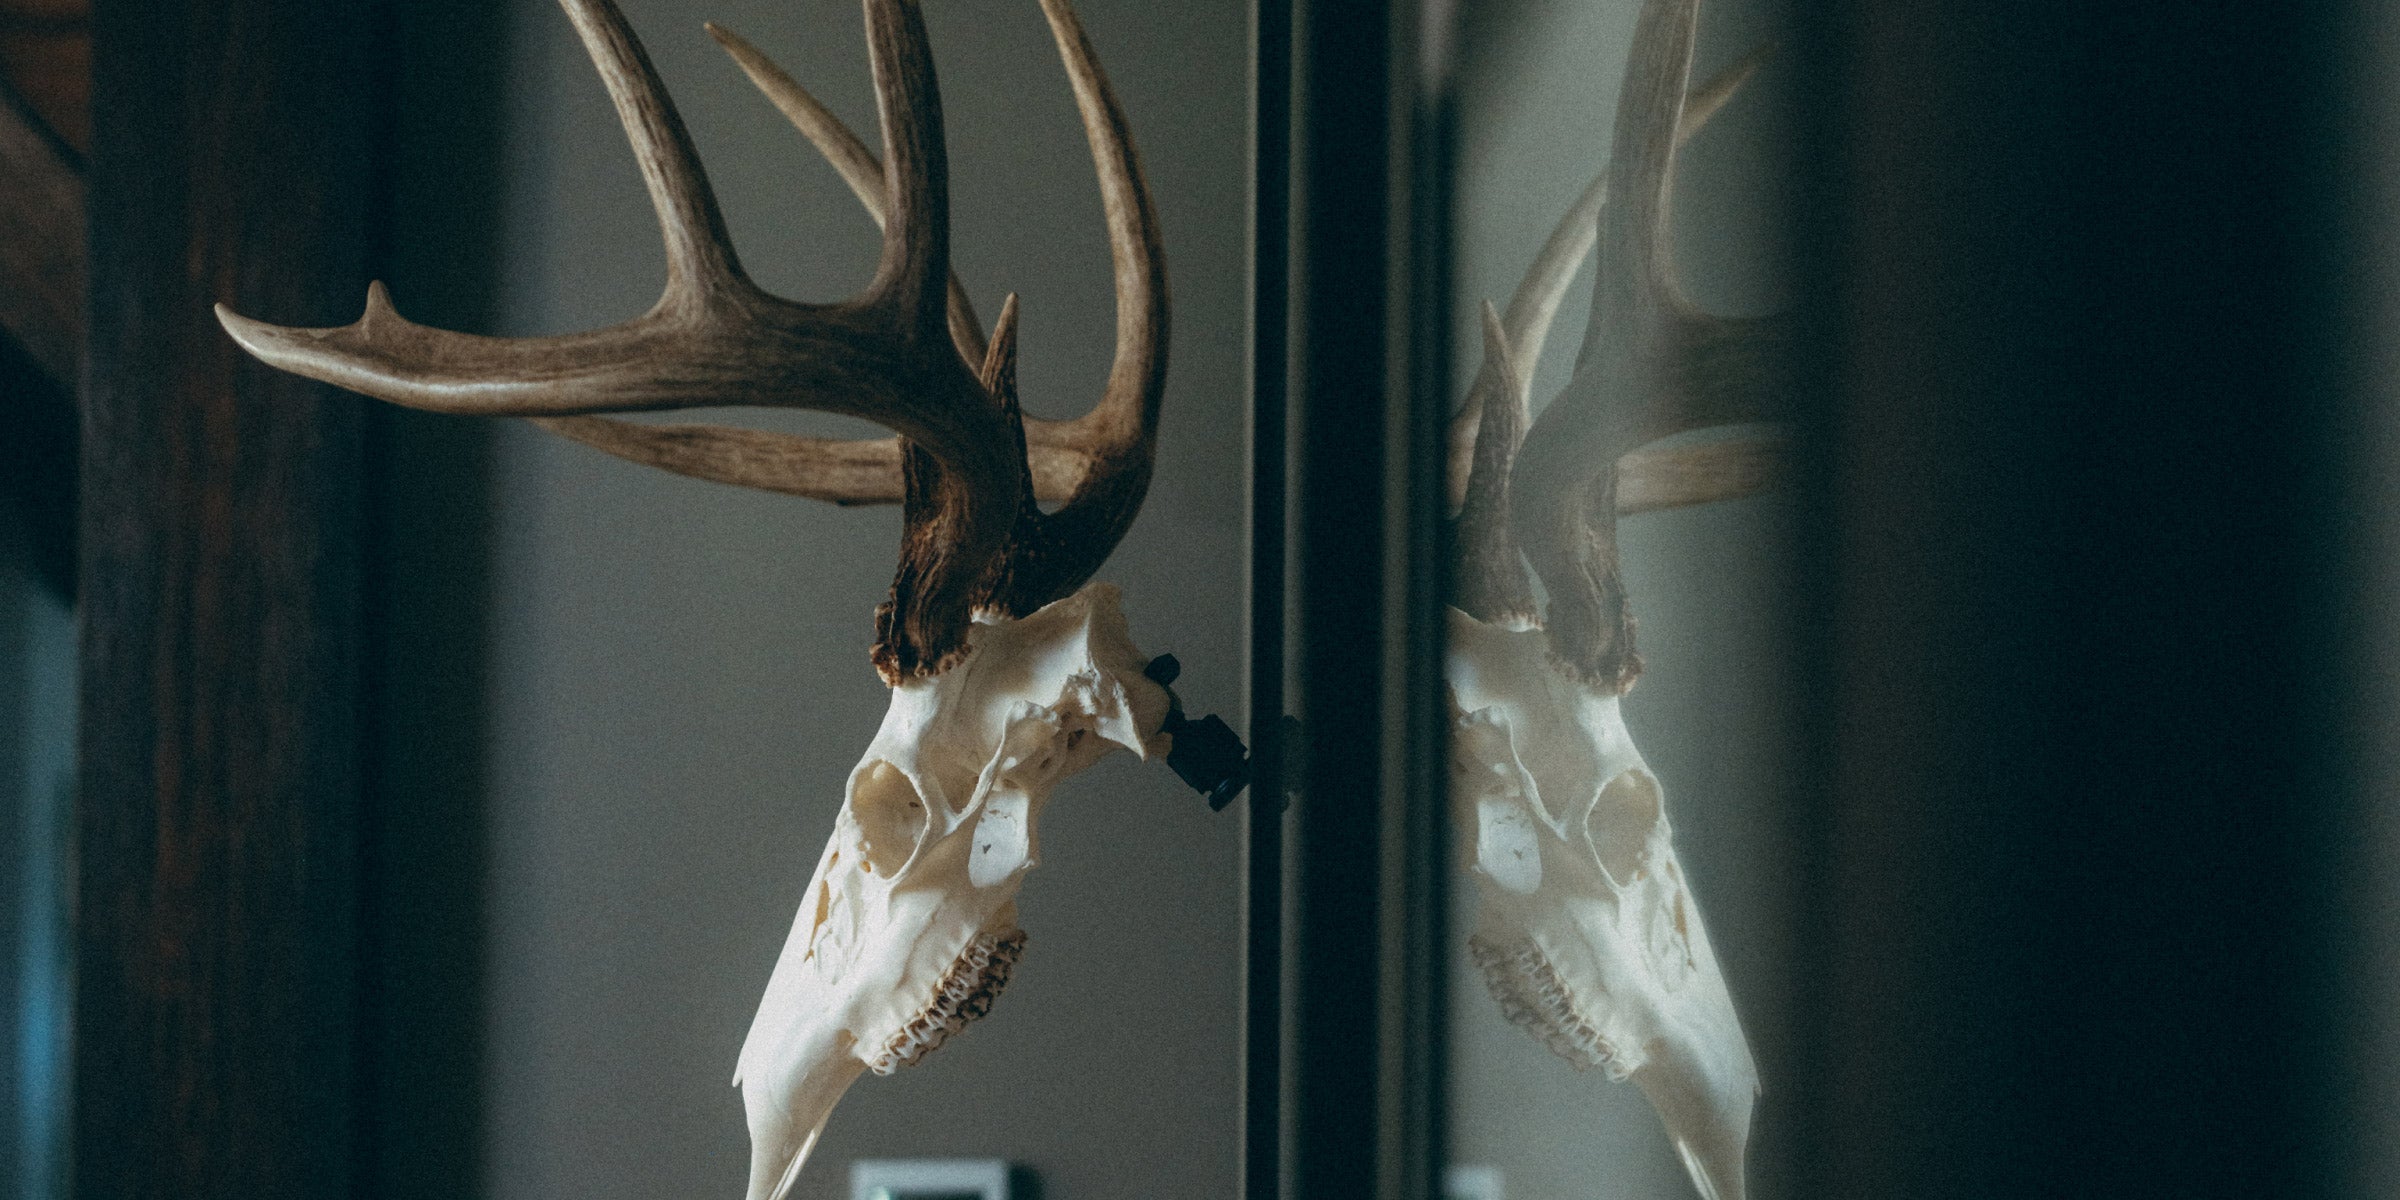
If you follow these steps with care, your euro mount skull will be clean, white, durable, and something to be proud to display. You can showcase your finished euro mount on one of our RHE Displays, available for both Medium and XL game.